Can you see the green wiggly?
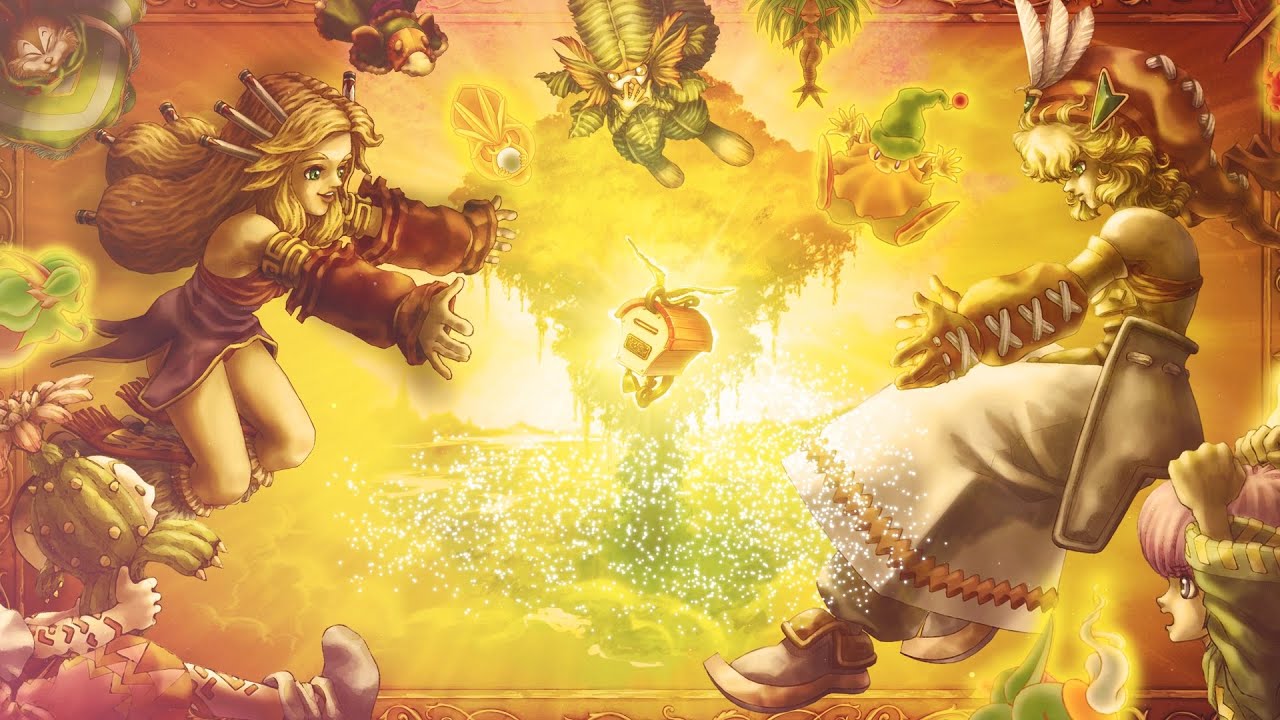
Legend of Mana Remastered launches today cross-platform. It’s legitimately one of my favorite PS1 games, period, and its influence on me thematically is immense. And if you’ve never played it before, but you’re thinking of picking it up, there are some things you should probably know in advance. So let’s get to the bottom of it all!
1) The game is fairly non-linear
There are a lot of reasons for this (some of which get their own points below), but as a general rule, it’s entirely possible for two people to play this game and, barring the use of a guide to actually help you do so, get entirely different experiences from the story. As a matter of fact, to fight the last boss, you only really need to play through one third of the main storylines. And that’s not mentioning the non-storyline related quests, which are just as memorable as the actually completion-critical ones.
2) You should absolutely use a guide
So as a corollary to number 1 up there, a guide is pretty much necessary, at some point, to get the most out of the Legend of Mana. This is mostly due to the fact that this game (and, in fact, the series as a whole) was directed by the same director as SaGa Frontier, so many of its mechanics are esoteric, to say the least. So you should use a guide; you should use several, in fact. I’ll link a few for the PlayStation original below that I consider helpful. While the Remaster does change a few things, it’s hard to imagine that this information will be completely useless. Some of these overlap, due to the fact that there’s more than one way to go about things.
Before I Play – Legend of Mana
Guide and Walkthrough – by Nemesis
Legend of Mana Info
Artifact Placement Guide by Zykeeper
Map/Artifact Placement Guide by FDesroches & ANelson
Level-Up FAQ by DAC
Pets and Plants Guide by Kurasu Soratobu
Pet Raising Guide by HonestLiar
Seed/Produce FAQ by The_MythMaker
Golem Guide by JumiViolet
3) Your artifact placement matters
You might have noticed that I linked a map placement guide above. That’s not a mistake, and it’s highly important. Some events have fairly arcane prerequisites, and some of them require you to pay attention to the mana system, which is primarily controlled by your artifact placement. A good example is the event Seeing Double; it is a quest that requires Domina to have Lvl. 3 Shade to activate.
There are also special monster companions that won’t appear on their designated map and offer to join without the requisite related mana level. More importantly, the stock available in shops is directly related to how far away from your house they are. A well planned map often involves placing the Mailbox near or at one extreme, and placing the town artifacts such that your shops give access to all purchasable materials in the game. Mana levels even affect the growth rate of crops in the orchard. So it might be a good idea to save before you place anything.
4) Lucre (money) is not an easy resource to come by normally
Most games, even in the Mana series, give you a reasonable amount of money from just fighting monsters. In my original playthrough back in the day, I was pretty surprised to find that by endgame, I really only had a few thousand lucre. This is a problem in a game where some materials can run for 20,000 a pop, and are necessary for forging.
So the accepted method for quick money, once the forge is unlocked, is to go to Luon Highway, fight Spiny Cones and Stinger Bugs for their item drops, then forge the resulting clear feathers onto the WindCaps until you see three Lord of the Flies cards pop on the cap. The modified WindCaps sell for ~26,000 lucre at any shop.
5) Your stats at level up are not static
So you might be accustomed to most games either giving you static stats per level, or (semi) randomized stats per level. Legend of Mana technically does neither. I linked a level-up guide up above, and its probably the most important of the lot, because once you hit level 99, in stark opposition to almost everything else in the game, you can’t go back and do it over without starting a new character. Why is this important? Because your stats at level up are determined by the weapon you have equipped at the time. I’ll leave the details to the FAQ, but to be brief, I’ll simply say that you may want to keep specific weapon types on hand as you go about grinding to 99 (which is actually fairly easy and not terribly time consuming in this game, once you complete the final Jumi storyline quest).
6) ABC (Always Be Cactus-ing)
One of the more charming characters in the game is Lil’ Cactus, the Main Character’s house plant/pet/friend. Lil’ Cactus keeps a diary of your adventures through the game… but only if you talk to him after each quest you complete. This is especially important for quests which are one-time deals per character, like The Mana Orchards, or the various workshop-unlocking quests like Path of the Blacksmith. So whenever you complete anything, go and talk to Li’ Cactus. You’ll get a cute diary entry to read out of it.
7) Some events break other events upon trigger
Exactly what it says on the tin. There are events that, upon triggering, will break other events you’re in the middle of at the time. a good example is Catchin’ Lilipeas; if you trigger it while in the middle of the event Huntin’ Du’Cate, Huntin’ Du’Cate breaks and becomes impossible to complete. It’s unlikely the remaster will change this, as it’s likely intentional; both of these events involve the same NPC’s and Catchin’ Lilipeas is supposed to happen after Huntin’ Du’Cate.
Mainline story events, however, never break, since they’re a requirement for beating the game. All of these are denoted by an extra little graphic and animation behind the name of the quest: a faerie for the Faerie arc, a teardrop-shaped jewel for the Jumi arc, and a dragon for the Dragon arc.
8) Weapon tempering is one of the most insane, unnecessarily complicated things in the game
Even I never really figured it out. Like most of the game, it isn’t really explained at all. The tutorial for forging and tempering in the original game may well be the most lacking tutorial Squaresoft ever made, and possibly in existence. People have spent the past 20 years datamining and doing their best to figure out all of its quirks. So there’s absolutely no shame in looking up recipes. Once upon a time, there was a Yahoo Groups page which not only detailed all of their findings, but presented user-made recipes for things like +20 rings or swords made from felt that had maximum elemental values and 999 attack. With the death of Groups, it is no more. But someone was smart enough to gather up as much as possible and offer it in a zip file, so there you go.
9) Abilities and plunging attacks
You have the ability to put certain movement abilities on your Circle/A button and Triangle/X buttons The ones you stat off with aren’t necessarily that great. But once you have a certain number of battles with them equipped, they can unlock new abilities. For example, after a number of battles for both Jump and Crouch, you’ll unlock High Jump. Most importantly, they don’t need to be equipped at the same time; they’re cumulative. So if you had Jump and Push equipped for, say, 20 battles, then swapped them out for Crouch and Spin, you’d learn High Jump after the requisite number of battles. It’s also important to know that weapon specials are learned at the same time through this system. If you decide to change weapons, you might be shocked to find that after your first battle with the new weapon type, you learn a massive list of specials.
A sizeable chunk of these abilities also have an effect when you try attacking during the animation. So you may want to try them out.
Also of note are plunge attacks, which can be tempered on to weapons at the forge, and are actually related to the cards you’ll see while tempering… that’s not important. What is, is knowing that they have universal, fighting-game-like inputs (quarter circle forward+heavy attack, forward+forward+heavy attack, and back+forward+heavy attack) that allow you to mix things up in combat, and that there are ones there by default.
10) Pets and Golems
Catching pets and building golems give you a potential third member of your party, though they’re never controllable. Overall, pets offer more utility, as they have different synchro effects based on which monster breed they are (a Polterbox is essential for some rare drops), and their behavior and stats can be modified via feeding.
Golems, on the other hand, have less overall going for them. But turning one of those insane max attack weapons or max defense armor pieces into a logic block and installing it on them can make them almost as broken as your character would be if they’d equipped the piece it was made out of.
11) Almost none of this really matters
Aside from your levels and a smattering of once-per-character events, it doesn’t matter if you miss certain events, or place artifacts with reckless abandon, or make a decision in a certain questline you regret, or forget to talk to Lil’ Cactus after an event. Legend of Mana was designed to be open ended, with a New Game+ feature that let you change almost everything about your playthrough. If you chose Escad, and realized that you like Daena more, on your next run, you can do that. If you want to pick up all the side events you missed the first time through, you can do that. If you hate dealing with shadoles and never want to play through with the Dragon arc again, you can do that. For all the game doesn’t tell you about itself, it also doesn’t really matter that you don’t know about it.