So, you decide one day to open up that old showboat you have stored in the closet and dust of the classic Game Boy. Unfortunately, you find that after over twenty years of sitting in retro gaming purgatory it no longer works. Or you could be like me and come home one day only to find that all you goodies have been sold for well under what they’re worth at a yard sale.
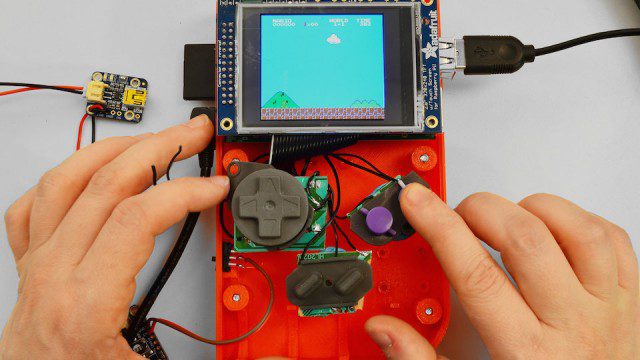
Well now you can build your very own fully functioning classic Game Boy in the comfort of your own home. You are going to need a bit a technical knowhow and a few tools before you get started. The entire unit is based upon the Raspberry Pi and will also require, an add-on LCD screen, an old SNES controller, and a 3D printer.
Okay, so this may not be the most simple, of cost-effective, solution to getting a Game Boy, but it sure sounds like a lot of fun for those makers out there with the necessary tools. Not to mention you’d also have the ability to load up some of your favorite games via .ROM files makes this a unique project for retro game fans.
You can download all the printout plans for this build from Adafruit as well as grabbing a full step-by-step guide to the build. If you have the sufficient grasp on working with circuitry and soldering this project should be within your means. This may just be the summer project you’ve been looking for.